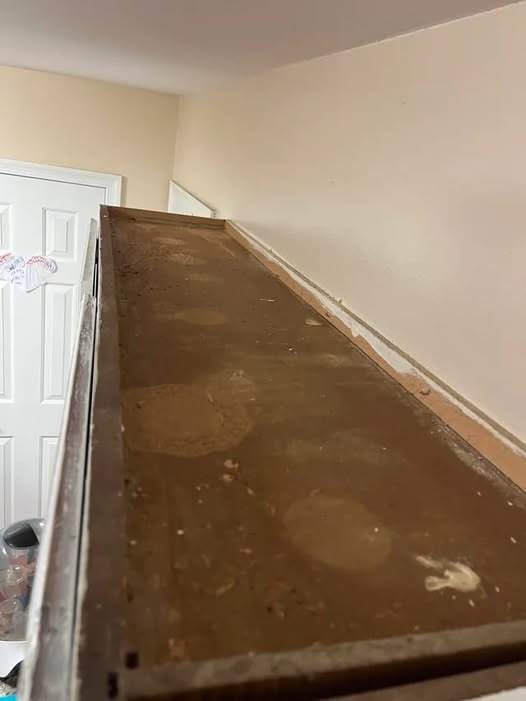
Step-by-Step Guide to Cleaning Cabinets
Step 1: Prepare Your Cleaning Solution
For light grease, use a few drops of oil on a clean cloth. For heavier buildup, create a solution by mixing:
- 1 tablespoon of oil
- 1 teaspoon of baking soda
- A few drops of dish soap (optional for added cleaning power)
This paste will act as a mild abrasive while maintaining the gentle cleaning properties of the oil.
Step 2: Test an Inconspicuous Area
Before applying the solution to your entire cabinet, test it on a hidden area to ensure it doesn’t damage the finish or cause discoloration.
Step 3: Apply the Oil
Dip your cloth into the oil or cleaning paste. Gently rub it onto the greasy surface, working in circular motions. Focus on areas where grease has built up, such as near handles, hinges, or stove-side cabinets.
Step 4: Let It Sit
For tougher grease, allow the oil to sit for 5–10 minutes. This gives the oil time to penetrate and dissolve the grease.
Step 5: Wipe Away Residue
Using a clean, damp cloth, wipe away the grease and oil mixture. For any remaining residue, you can repeat the process or use a small amount of dish soap to cut through the leftover grease.
Step 6: Rinse and Dry
Wipe down the area with a cloth dampened with warm water to remove any soapy or oily residue. Finish by drying the surface with a clean, dry towel to prevent streaks.
Removing Cooking Odors
Cooking odors often cling to cabinets, especially when grease traps these smells. Here’s how you can eliminate lingering odors:
1. Vinegar Solution
White vinegar is a natural deodorizer. Mix equal parts water and vinegar in a spray bottle and lightly mist the cabinets. Let it sit for a few minutes, then wipe with a damp cloth. The vinegar smell will dissipate as it dries, taking cooking odors with it.
2. Baking Soda Absorption
For stubborn smells, sprinkle baking soda on the cabinet surface and let it sit for 15–20 minutes. Wipe away with a damp cloth. Baking soda naturally absorbs odors without leaving behind a residue.
3. Lemon Freshness
Rub a slice of lemon directly onto the cabinet surface or add lemon juice to your cleaning solution. Lemon not only removes odors but also leaves a fresh, clean scent.
Tips to Prevent Grease and Odor Buildup
- Regular Cleaning: Wipe down cabinets weekly with warm, soapy water to prevent grease from solidifying.
- Use Splatter Guards: While cooking, use splatter screens or covers to reduce grease dispersion.
- Ventilation: Always use the range hood or open windows while cooking to minimize odor and grease buildup.
- Immediate Spill Management: Clean spills promptly to prevent them from hardening and becoming more difficult to remove.
Why This Method Works Better Than Chemicals
Unlike commercial cleaners, this oil-based method avoids harsh chemicals that can damage your cabinets or pose health risks. It’s a gentler approach that:
- Preserves cabinet finishes
- Reduces exposure to harmful substances
- Supports eco-friendly cleaning practices
- Utilizes readily available household items
Common Questions
Q: Can I use this method on painted cabinets?
A: Yes, but always test a small area first to ensure the paint doesn’t react adversely to the oil.
Q: What type of oil is best?
A: Coconut oil is excellent for a fresh scent, while mineral oil works well for an odorless option. Vegetable oil is a versatile, budget-friendly choice.
Q: How often should I clean my cabinets?
A: Perform a deep clean monthly, and wipe down surfaces weekly to maintain their appearance.
Conclusion
Grease and cooking odors don’t have to be a permanent fixture in your kitchen. By using natural oils and simple ingredients, you can restore your cabinets to their original shine while keeping your kitchen smelling fresh. This method is easy, cost-effective, and environmentally friendly, making it a win for any household.
Next time you’re faced with sticky cabinets or lingering odors, reach for the oil bottle instead of chemical cleaners. Your kitchen—and the planet—will thank you!

